JSF 2 Custom Input FacesComponent Example
In this tutorial we will create a custom input FacesComponent. Since JSF 2 we can create a custom component using only annotations. prior to JSF 2 we had to create a taglib.xml file and register it in the servlet descriptor. We’ll show both the new and old ways how to create a custom component.
Creating the Custom Component
We are creating a custom input component which extends from UIInput. We are overriding the decode and encode methods for respectively get the values from the request and encoding the necessary fields to display on the UI. The @FacesComponent annotation creates the tag file and automatically registers it in the servlet descriptor.
package com.memorynotfound.jsf;

import javax.faces.component.FacesComponent;
import javax.faces.component.UIComponentBase;
import javax.faces.component.UIInput;
import javax.faces.component.UINamingContainer;
import javax.faces.context.FacesContext;
import javax.faces.context.ResponseWriter;
import java.io.IOException;
import java.util.Map;

@FacesComponent(createTag = true, namespace = "https://memorynotfound.com/example",
        tagName = "custom-input", value = "com.memorynotfound.jsf.CustomInput")
public class CustomInput extends UIInput {

    @Override
    public void decode(FacesContext context) {
        Map requestMap = context.getExternalContext().getRequestParameterMap();
        String clientId = getClientId(context);
        char sep = UINamingContainer.getSeparatorChar(context);
        String submitted_hello_msg = ((String) requestMap.get(clientId + sep + "inputfield"));
        setSubmittedValue(submitted_hello_msg);
    }

    @Override
    public void encodeEnd(FacesContext context) throws IOException {
        String clientId = getClientId(context);
        char sep = UINamingContainer.getSeparatorChar(context);
        encodeInputField(context, clientId + sep + "inputfield");
        encodeSubmitButton(context, clientId + sep + "submit");
        encodeOutputField(context);
    }

    private void encodeInputField(FacesContext context, String clientId) throws IOException {
        ResponseWriter writer = context.getResponseWriter();
        writer.startElement("input", this);
        writer.writeAttribute("type", "text", null);
        writer.writeAttribute("name", clientId, "clientId");
        writer.writeAttribute("size", "30", null);
        Object value = getValue();
        if (value != null) {
            writer.writeAttribute("value", value.toString(), "value");
        }
        writer.writeAttribute("size", "6", null);
        writer.endElement("input");
    }

    private void encodeSubmitButton(FacesContext context, String clientId) throws IOException {
        ResponseWriter writer = context.getResponseWriter();
        writer.startElement("input", this);
        writer.writeAttribute("type", "Submit", null);
        writer.writeAttribute("name", clientId, "clientId");
        writer.writeAttribute("value", "Click Me!", null);
        writer.endElement("input");
    }

    private void encodeOutputField(FacesContext context) throws IOException {
        ResponseWriter writer = context.getResponseWriter();
        String hellomsg = (String) getAttributes().get("value");
        writer.startElement("p", this);
        writer.writeText("You entered: " + hellomsg, null);
        writer.endElement("p");
    }

}
Prior JSF 2: Creating the taglib file
If you don’t use the @FacesComponent annotation, you must manually create a tag file and register it in the servlet descriptor. Here is an example of the tag lib file.
<?xml version="1.0"?>
<!DOCTYPE facelet-taglib PUBLIC
        "-//Sun Microsystems, Inc.//DTD Facelet Taglib 1.0//EN"
        "http://java.sun.com/dtd/facelet-taglib_1_0.dtd">
<facelet-taglib version="2.0"
                xmlns="http://java.sun.com/xml/ns/javaee"
                xmlns:xsi="http://www.w3.org/2001/XMLSchema-instance"
                xsi:schemaLocation="http://java.sun.com/xml/ns/javaee
                                    http://java.sun.com/xml/ns/javaee/web-facelettaglibrary_2_0.xsd">

    <namespace>https://memorynotfound.com/example</namespace>
    <tag>
        <tag-name>custom-input</tag-name>
        <component>
            <component-type>com.memorynotfound.jsf.CustomInput</component-type>
        </component>
    </tag>

</facelet-taglib>
Prior JSF 2: registering the file in web.xml
Again, If you don’t use the @FacesComponent annotation, you must manually create a tag file and register it in the servlet descriptor. Here is how you can register the custom taglib file in the servlet descriptor.
<!-- register custom tag -->
<context-param>
    <param-name>javax.faces.FACELETS_LIBRARIES</param-name>
    <param-value>/WEB-INF/custom.taglib.xml</param-value>
</context-param>
Using the custom input component
Finally we can use our custom component. It’s as simple as adding the namespace in the html element and using the custom component as defined in wether via the annotation or the custom tablib file.
<?xml version='1.0' encoding='UTF-8' ?>
<!DOCTYPE html>
<html xmlns="http://www.w3.org/1999/xhtml"
      xmlns:h="http://xmlns.jcp.org/jsf/html"
      xmlns:custom="https://memorynotfound.com/example">
<h:body>

    <h2>JSF Custom Input FacesComponent Example</h2>
    <h:form>
        <custom:custom-input/>
    </h:form>

</h:body>
</html>
Demo
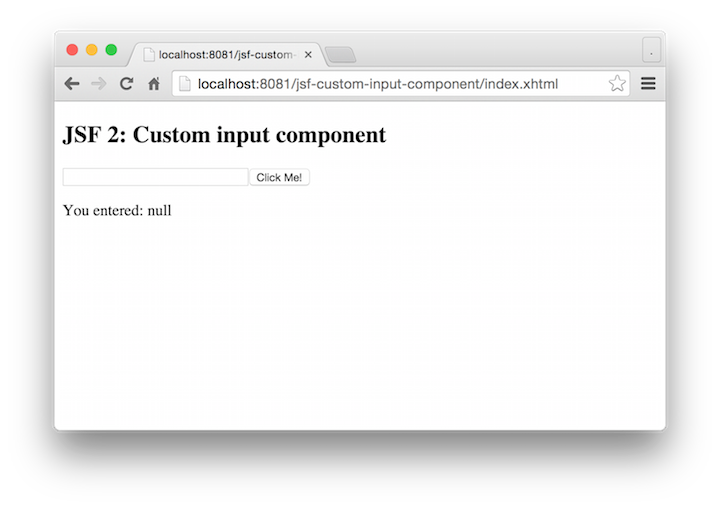
URL: http://localhost:8081/jsf-custom-input-component/index.xhtml

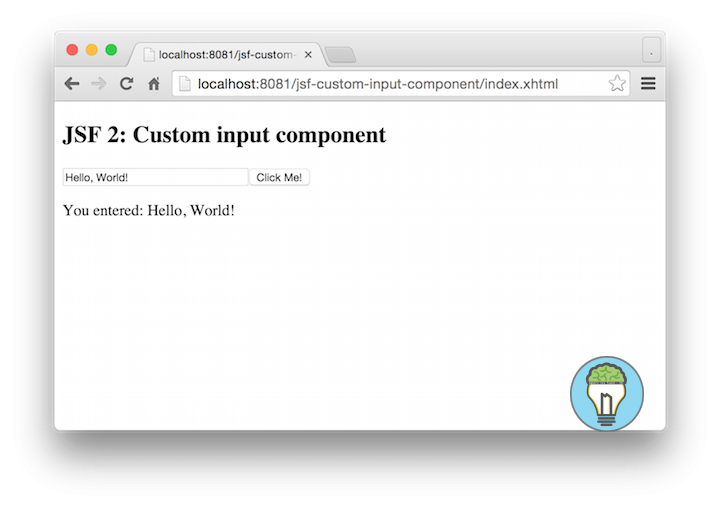
After submitting the value.


Hi, is faces-config.xml necessary?
Hi asd, In this example it is not mandatory.