Servlet Basic Authentication XML Configuration
This tutorial explains how to configure Servlet Basic Authentication XML configuration. If you are planning on using basic authentication you must be aware that if you use plain HTTP requests your username and password can be intercepted by monitoring network communication, so I strongly recommend using HTTP with SSL (HTTPS). This way your data wil be encrypted. With Basic authentication, your username and password automatically get Base64 encoded which do not mean that it is safe. Base64 encoding can be easily decrypted. In the following example we will guide through the steps in how to configure a servlet with base authentication using XML configuration.
Configure Username/password
This example uses tomcat-users.xml file to register a username/password combination with the appropriate row. This file is located at ../tomcat-home/conf/tomcat-users.xml.
<?xml version='1.0' encoding='utf-8'?>
<tomcat-users xmlns="http://tomcat.apache.org/xml"
              xmlns:xsi="http://www.w3.org/2001/XMLSchema-instance"
              xsi:schemaLocation="http://tomcat.apache.org/xml tomcat-users.xsd"
              version="1.0">

    <user username="tomcat" password="tomcat" roles="secured"/>

</tomcat-users>
Secured Servlet
First lets create a servlet that we want to secure.
package com.memorynotfound;

import javax.servlet.ServletException;
import javax.servlet.http.HttpServlet;
import javax.servlet.http.HttpServletRequest;
import javax.servlet.http.HttpServletResponse;
import java.io.IOException;
import java.io.PrintWriter;

public class SecuredServlet extends HttpServlet{

    protected void doGet(HttpServletRequest req, HttpServletResponse resp) throws ServletException, IOException {
        PrintWriter out = resp.getWriter();
        out.write("Servlet basic authentication xml configuration: secured servlet");
    }

}
Public Servlet
Next as an example we will create a servlet that will be publicly available without security.
package com.memorynotfound;

import javax.servlet.ServletException;
import javax.servlet.http.HttpServlet;
import javax.servlet.http.HttpServletRequest;
import javax.servlet.http.HttpServletResponse;
import java.io.IOException;
import java.io.PrintWriter;

public class PublicServlet extends HttpServlet{

    protected void doGet(HttpServletRequest req, HttpServletResponse resp) throws ServletException, IOException {
        PrintWriter out = resp.getWriter();
        out.write("Servlet basic authentication xml configuration: public servlet");
    }

}
Servlet Basic Authentication XML Servlet Descriptor
The next step is to register the servlets in our web.xml file. One servlet will be publicly available and the other one we are going to secure with a servlet basic authentication XML configuration. We can secure an URL using the security-constraint element. This element takes a web-resource-collection which takes an URL-pattern, this indicates which URL relative to the context root will be secured. We can configure which HTTP-methods must be secured. Next there is also a auth-constraint which is used to specify a role for that web resource. This means that the logged in user must have that role declared or else he will not be granted access to the web-resource. With this configuration we have secured the web resource. Now it’s time to specify which type of authentication type we are going to use. This is where the login-config element comes in to play. The element takes a auth-method child element which will register which type of authentication we will use. In our case we will configure the BASIC config.
<web-app xmlns="http://xmlns.jcp.org/xml/ns/javaee"
         xmlns:xsi="http://www.w3.org/2001/XMLSchema-instance"
         xsi:schemaLocation="http://xmlns.jcp.org/xml/ns/javaee
                             http://xmlns.jcp.org/xml/ns/javaee/web-app_3_1.xsd" version="3.1">

    <servlet>
        <servlet-name>secured-servlet</servlet-name>
        <servlet-class>com.memorynotfound.SecuredServlet</servlet-class>
    </servlet>
    <servlet-mapping>
        <servlet-name>secured-servlet</servlet-name>
        <url-pattern>/secured</url-pattern>
    </servlet-mapping>

    <servlet>
        <servlet-name>public-servlet</servlet-name>
        <servlet-class>com.memorynotfound.PublicServlet</servlet-class>
    </servlet>
    <servlet-mapping>
        <servlet-name>public-servlet</servlet-name>
        <url-pattern>/public</url-pattern>
    </servlet-mapping>

    <security-constraint>
        <web-resource-collection>
            <web-resource-name>secured-url</web-resource-name>
            <url-pattern>/secured/*</url-pattern>
            <http-method>GET</http-method>
            <http-method>POST</http-method>
        </web-resource-collection>
        <auth-constraint>
            <role-name>secured</role-name>
        </auth-constraint>
    </security-constraint>

    <login-config>
        <auth-method>BASIC</auth-method>
        <realm-name>default</realm-name>
    </login-config>

    <security-role>
        <role-name>secured</role-name>
    </security-role>

</web-app>
Demo
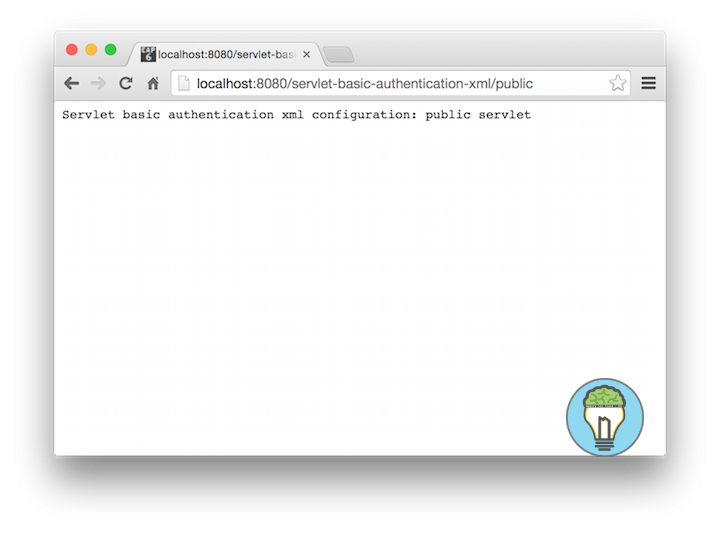
URL: http://localhost:8080/servlet-basic-authentication-xml/public

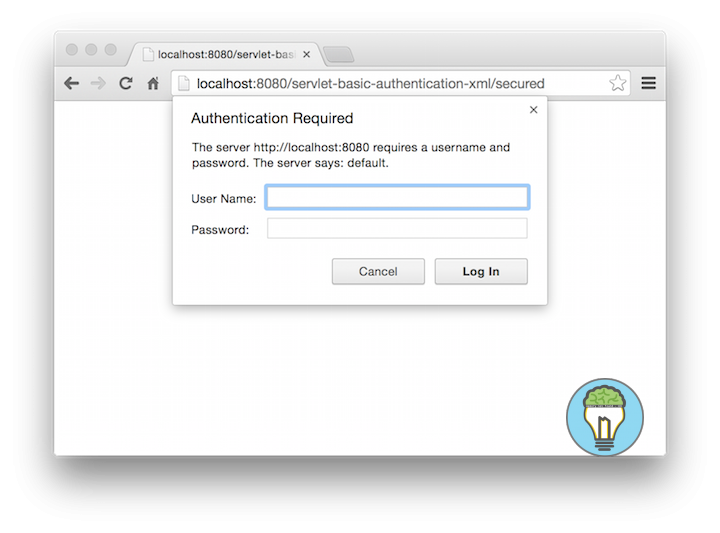
URL: http://localhost:8080/servlet-basic-authentication-xml/secured login popup

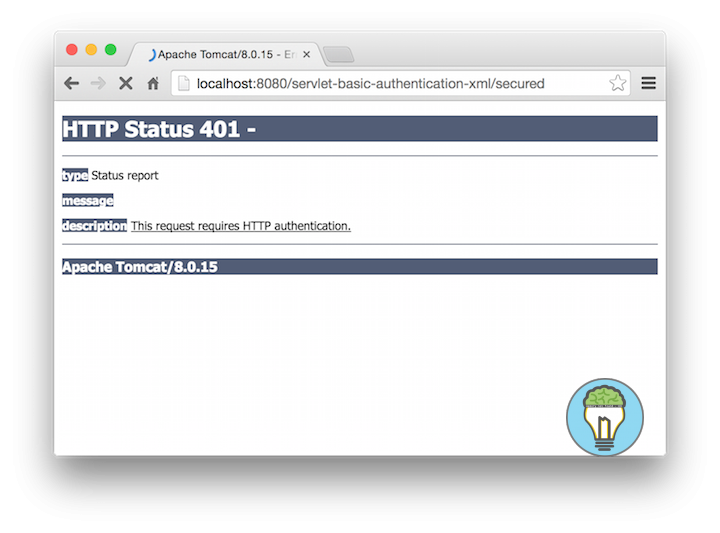
URL: http://localhost:8080/servlet-basic-authentication-xml/secured access denied

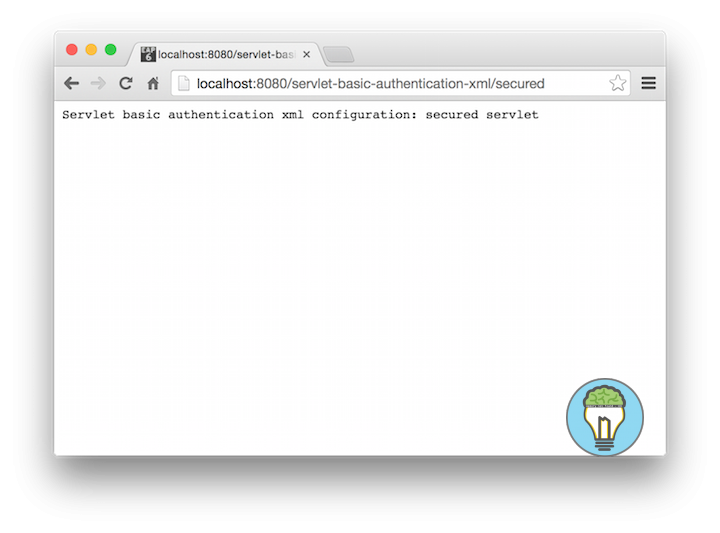
URL: http://localhost:8080/servlet-basic-authentication-xml/secured logged in


