How to Add a Tag to a Menu in WordPress
Tagging in WordPress.
Tags are a way to group similar kinds of content and help your visitor to navigate your blog or site. They are meant to be used less broadly than categories that help your visitors even more in their navigation on your blog or site. If you wrote a book review, for example, you can add that review to the category ‘book reviews’ and then tag it with the writer, the title, the kind of literature, etc. Tag posts and pages and add them to your menu(s). In the following tutorial, we show you how to do this. If you want to know how you can add a category to a menu, click here. If you don’t know how to create a menu, click here. To find out how you can add pages and posts to a menu, click here. To create a menu with submenus, click here.
Add a tag to a menu in WordPress
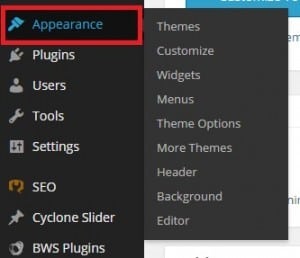
To add a tag to a menu in WordPress, you must first open your WordPress dashboard. You see the word ‘Appearance’ in the vertical list of words running down the left side of the homepage.

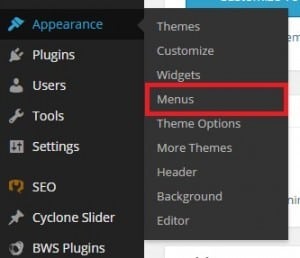
Click or hover over ‘Appearance’ and you will see several categories to choose from.

Click ‘Menus’.

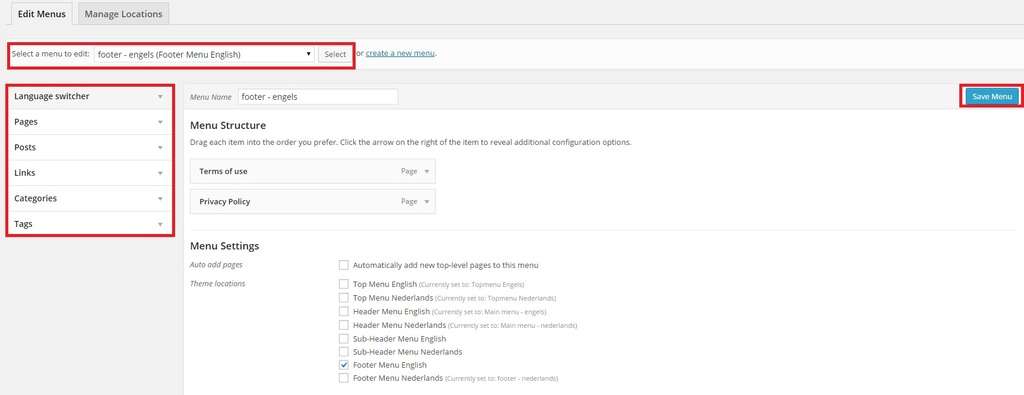
Select the menu to which you want to add a tag. Click ‘Tags’. Choose the tag(s) that you want to add to your menu. Click ‘Save Menu’ to save the changes you have made.

!!! If the tab ‘Tags’ is not immediately visible, scroll to the top. In the corner right, click ‘Screen Options’.

Select ‘Tags’. You can now go on as planned. Don’t forget to click ‘Save Menu’ or ‘Update’ to save your changes.


