How to Create a Menu with Submenus in WordPress
Submenus in WordPress
If you have added a lot of posts and or pages to a menu, your menu may become cluttered and overview gets lost. In that case it might be useful to create a menu with submenus. Be sure to use a good structure if you decide to work with submenus. In the following tutorial, we explain how exactly you can give your menu submenus. Don’t know how to create a menu in WordPress? Click here.
Create a menu with submenus in WordPress
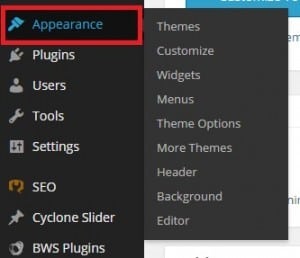
If you have created a menu in WordPress and you want to create submenus, first open your WordPress dashboard. You see the word ‘Appearance’ in the vertical list of words running down the left side of the homepage. Click or hover over ‘Appearance’ and you will see several categories to choose from.

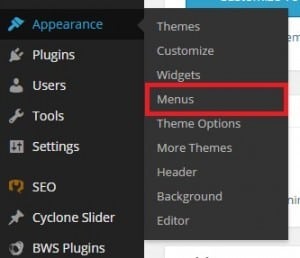
Click ‘Menus’.

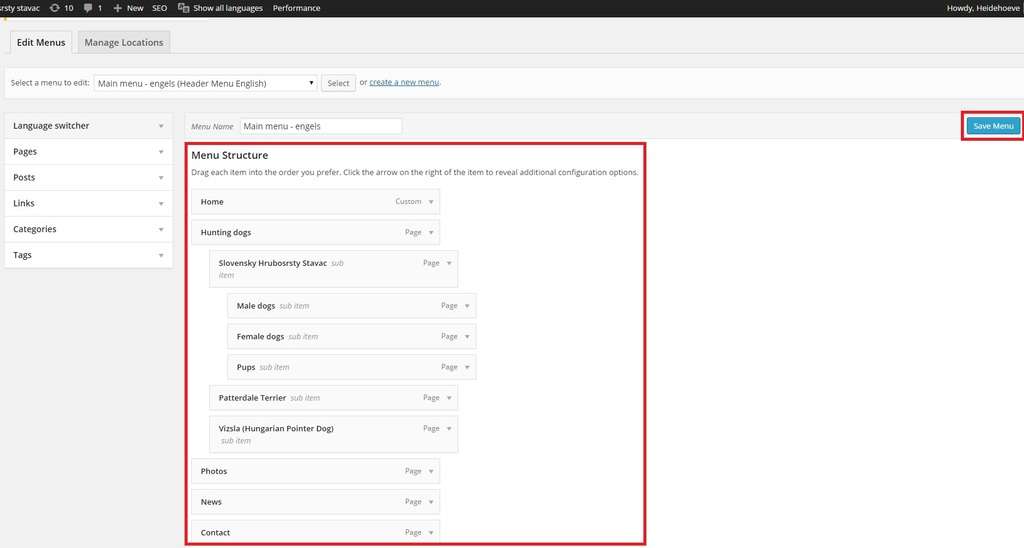
Select the menu that you want to edit. You have already added your pages or posts of choice to the menu. If you do not know how to do add pages or posts to a menu, take a look at our tutorial on this subject. Click here.

You can easily change the order of your chosen items/pages by dragging each item to the preferred place in the menu. To create submenus, simply drag items to the right. You can also create sub submenus by dragging the items of choice a bit further to the right.

Click ‘Save Menu’ to end. (If you have already saved it before, simply click ‘Update’ to save the changes.)

